
Like this one time i painted writing and pictures on the walls of my rented bachelor suite. Scrubbing it off when I moved out was such a pain but also a good memory to look back on and laugh at. lol* Right Rosa??
♥Here are a few photos of the rooms I've had ♥
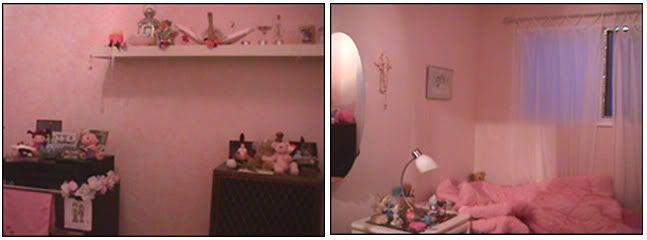
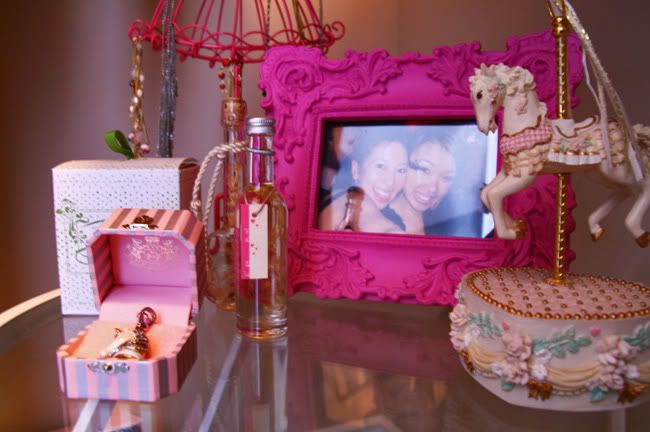
This prob'ly looks like a little girl's room to you. But to tell you the truth I decorated this when I was 18. LOL*
It was the princess in me. I even had sparkles on the ceiling. It was a very magical space to be in especially when I lit up my candles.
It was the princess in me. I even had sparkles on the ceiling. It was a very magical space to be in especially when I lit up my candles.
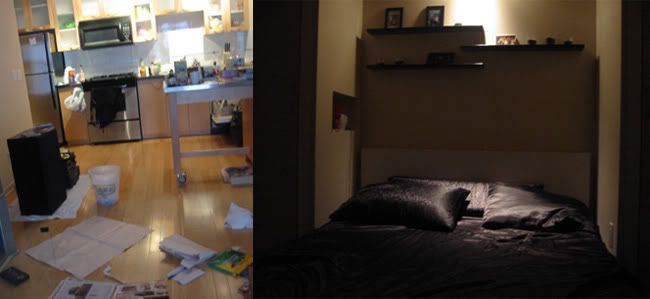
This was when I first moved out to Vancouver on Richards St, downtown. I stubbornly insisted that I was to live in the heart of the city and even tho rent was pricey the experience was priceless. What a contrast to my previous room hey? I made myself some new satin sheets to go with the more "grown up" me.
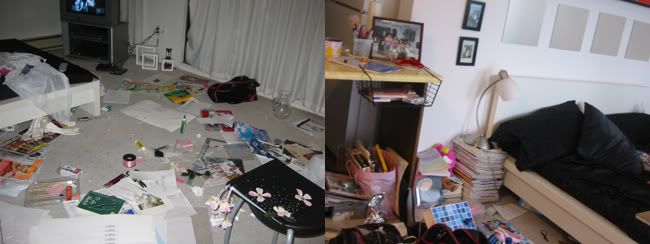
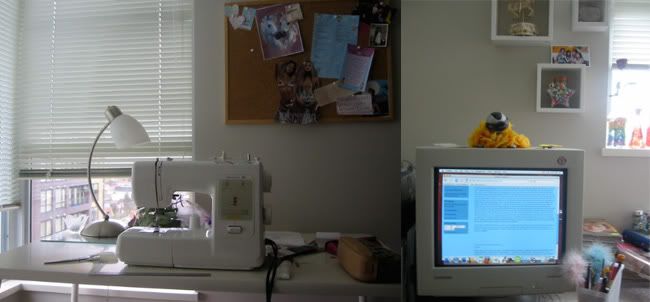
This was the 2nd place I lived in Vancouver. I had to down grade. I was going to fashion school at the time and my place was always a mess bcos of the many projects I had on the go. Even tho this place wasn't my ideal place I made interesting memories. Like when the girls came to visit me in the summer, it felt like we were inside an oven. Couldnt open the balcony bcos there was a beehive sitting right outside.
Here's a post I wrote during this time: READ HERE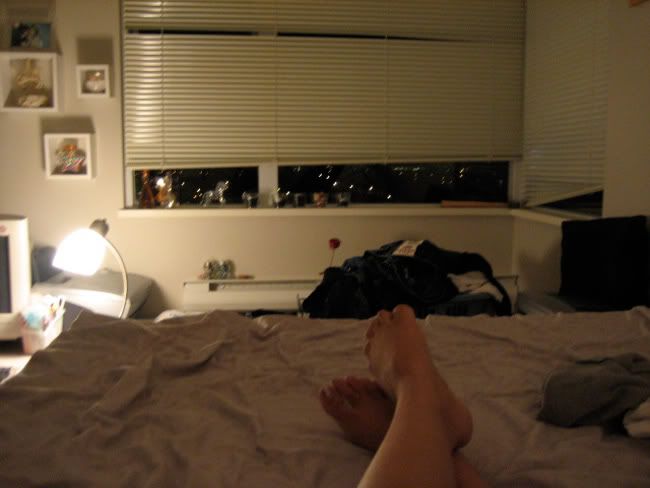
3rd apartment was by Joyce station. Pretty good location and a lot more SPACE!! I loved the view. I could watch the fireworks from my balcony.

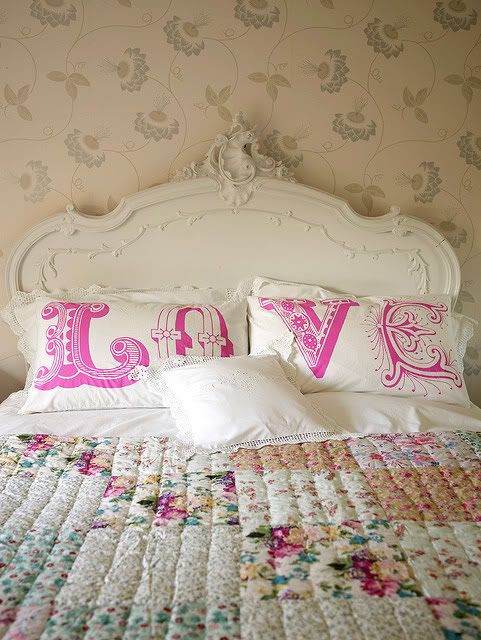
And this is my room when I lived in Kits. How would I describe the style?
Well I was inspired by Hawaii. Had interesting patterns, exotic colors and brown furniture to ground it all.
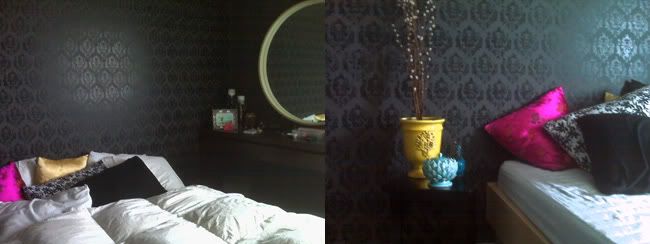
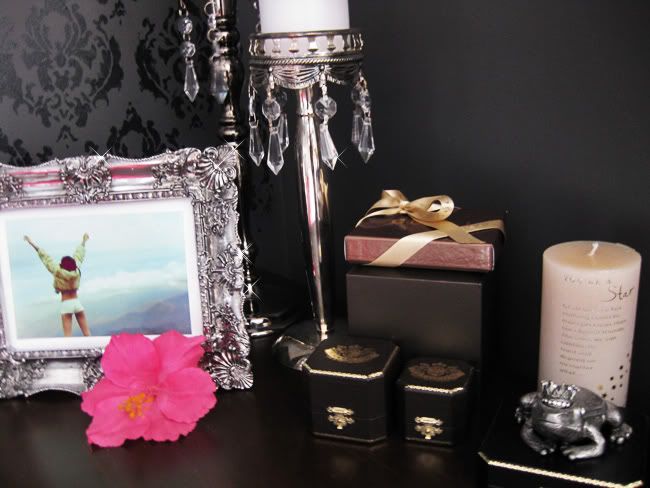
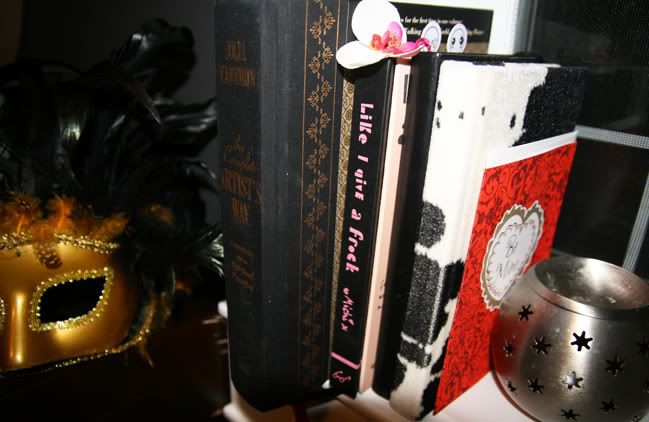
And what does my room look like now?? I had more time to put effort into this one. If I could describe it in 3 words it would be: Modern, arabian, eclectic. I used a lot of dark colors esp grey. I damasked one wall to give it texture and interest to the eye and against the grey canvas I decided to add pops of color. It almost looks like a merging of my first two rooms. Sorry for the quality of the next photo. I had taken it on my phone.
♥How to Damask your wall♥
What you'll need:
*stencil paper
*a pad to put underneath to cut the pattern
*felt tip pen
*exacto knife
*paint
*sponges
*a pad to put underneath to cut the pattern
*felt tip pen
*exacto knife
*paint
*sponges
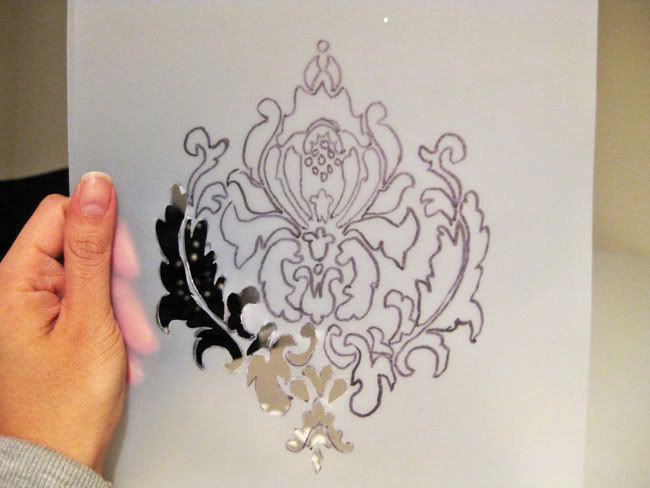
-I bought some stencil paper from the craft store and searched online for a pattern that I liked.
-I traced it with a felt tip pen and cut it out with an exacto knife. A bit time consuming.
-It's probly a lot easier if you find one instead of making one.
-I traced it with a felt tip pen and cut it out with an exacto knife. A bit time consuming.
-It's probly a lot easier if you find one instead of making one.
-I had to stencil my wall one pattern at a time. Not the most efficient way to go about it but I couldn't find a damask stencil in calgary and I was too impatient to order one online
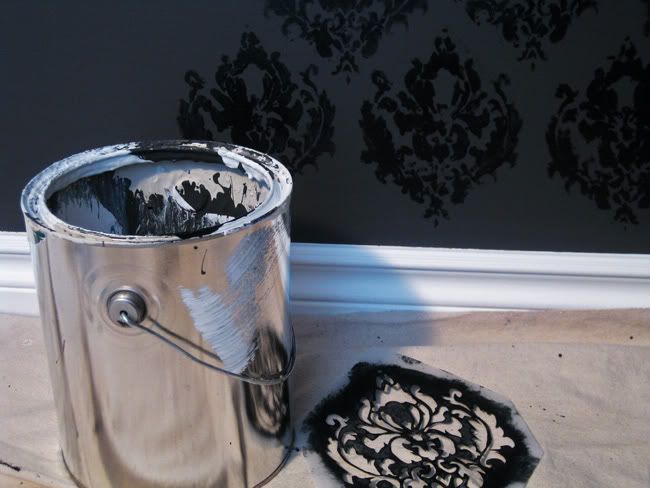
-You can create a lot of diff looks with damask....different colors, different textures like gold or silver. Its really up to you what you like. For me I used glossy black paint
-So when you have your paint picked out you can start by taping the stencil to your wall. Then dip your sponge in the paint and dab at the stencil.
-You'll discover your own technique as you go along. But make sure to keep the stencil pressed up against the wall
-The first few that I did looked messy bcos I picked up too much paint on my sponge so add a little bit at a time
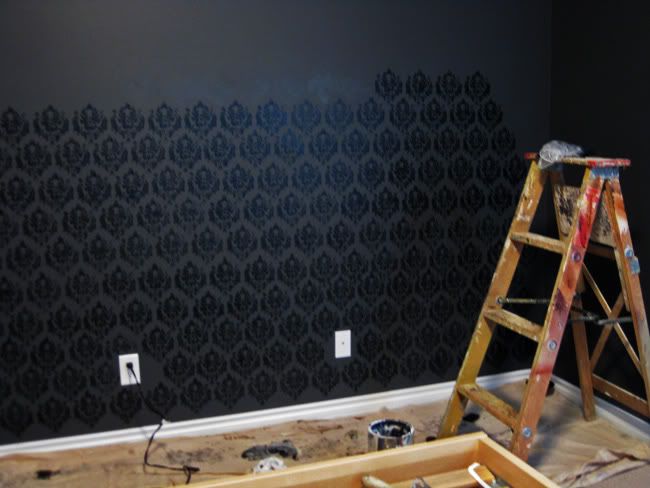
-Here's my progress. Dont ask me how I got them all level. I had no strategy. I just eyeballed it. I dont think I'd want to ever do this again unless I was paid a ridiculous high amount of money lol*
-If you were to do this right, I think the best way would be to use a measuring stick and drawn lines to act as guides on where to place your stencil
-If you were to do this right, I think the best way would be to use a measuring stick and drawn lines to act as guides on where to place your stencil
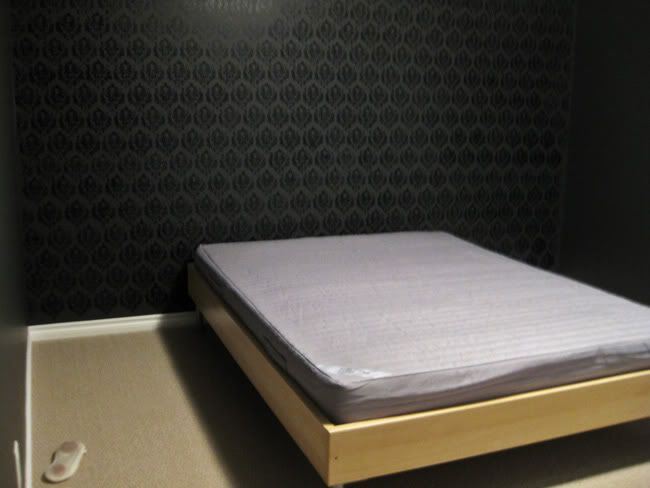
All done - after a few days. I think it was definitely worth it. Now for the fun part...putting everything together.
♥It's all about the details...♥
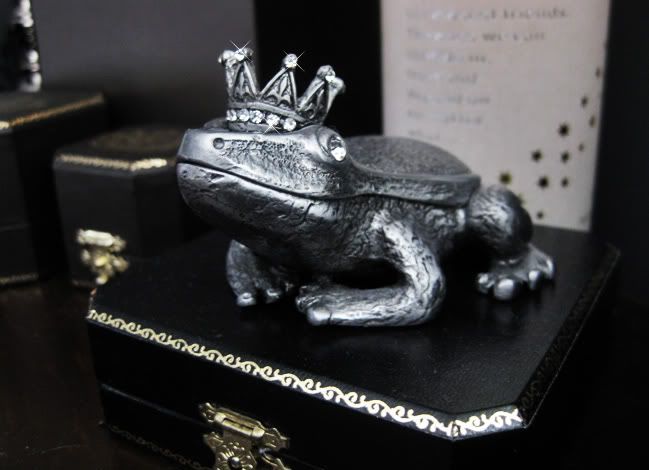
This is my prince charming frog where I keep my rings. You can open him up.
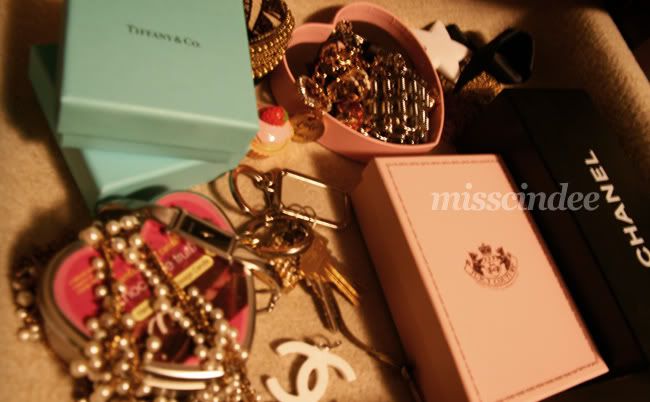
My jewlery drawer
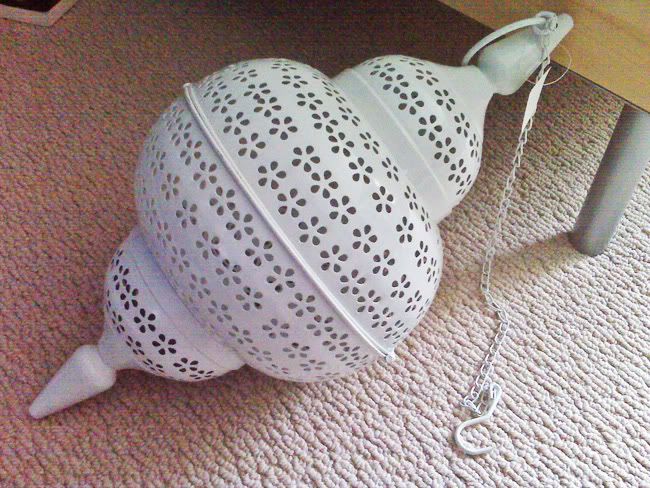
And my lantern to go along with the arabian theme


 ♥
♥


